Showing posts with label Photoshop. Show all posts

Thursday, 21 April 2016

3D Modelling: Time Machine Final Render and Marmoset Turntable


Normal Map
Ambient Occlusion Map

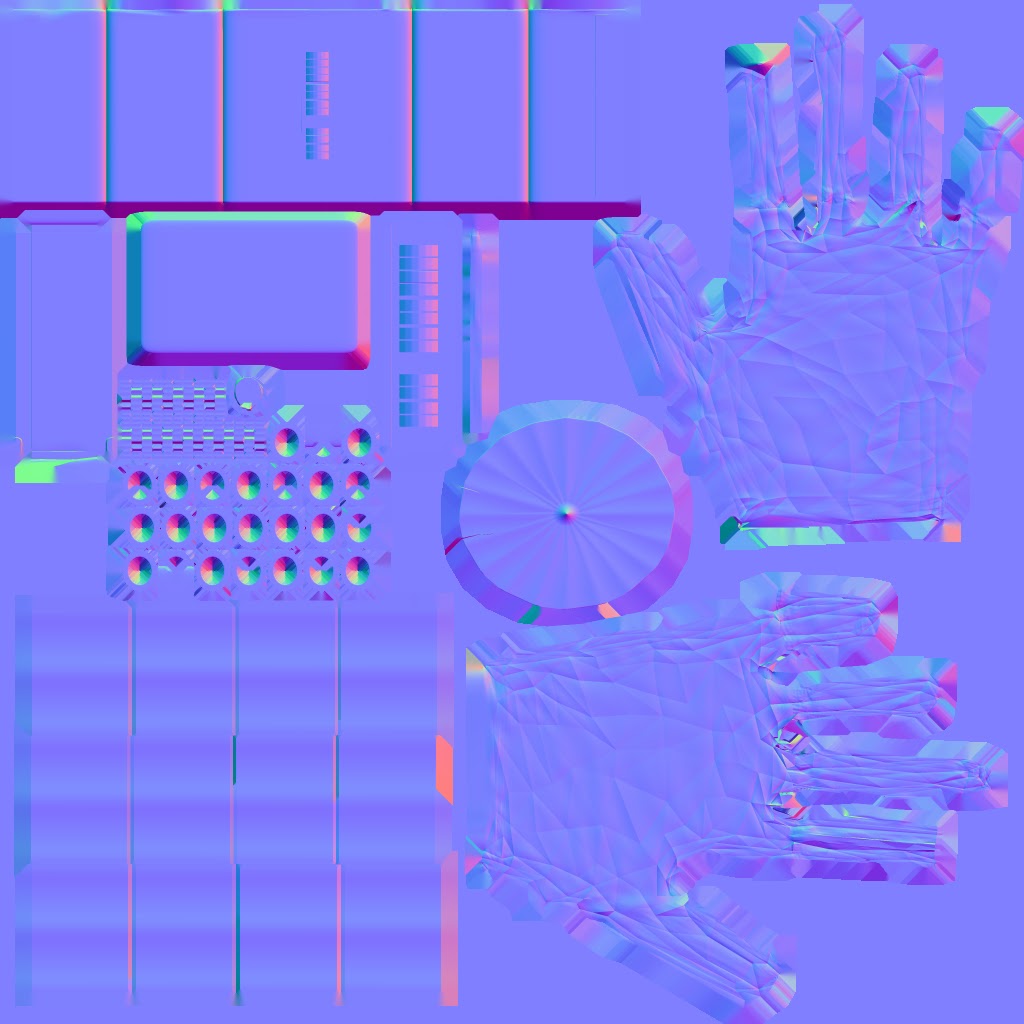
These are the maps I used on my Time Machine Marmoset model.

I wanted the glove part to be fabric and the cuff to be a metal material and designed the maps correspondingly.

Metallic Map
Roughness Map
Both the Metallic and Roughness Maps took me a few tries to do correctly as sometimes things were too reflective etc, but I think that it's turned out alright.

I included a close up screenshot of the cuff as it is not that easily seen on the turntable preview.
Close up of the metal cuff
Time Machine Render

3D Modelling: Column Final Render and Marmoset Turntable

Normal Map

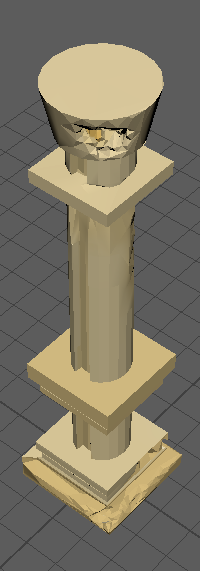
Having baked my pillar in xNormal, these maps were created and saved in my files, a Normal Map and an Ambient Occlusion Map.
This meant that, using these maps, I could generate the column in Marmoset, making a 3D preview of the model.

In Marmoset, the lighting and different maps can be applied and changed.
For this model, I have only used the Normal and Albedo Maps and also the Ambient Occlusion Map.
Ambient Occlusion Map
Column Render


Wednesday, 20 April 2016

3D Modelling: Time Machine Texture and Cage

Primitive View
Front View


UV Map
Top View
Side View


Before I actually started creating the UV map, I thought that an organic object would be easier to do than objects with hard edges. However, I've found that it's more difficult to determine how many shells are needed for an object and where the seams should be.

It took me much longer to UV map my column than the time machine but I think that may be due to the fact that were more parts to the column, and also because I was just starting to learn UV mapping.


Front View
Primitive View


Side View

Albedo Map
Top View
Time Machine with Cage

Friday, 15 April 2016

3D Modelling: Column Texture

Primitive View
Front View
Side View
Top View

I chose a grey colour at first but it didn't seem much different from the lambert material in Maya, so I tried a sandy, marble-esque colour but I think I'd have to add additional materials to the model in order to create this affect.

Painting on a UV map with irregular designs and shapes was strange as I couldn't tell a lot of the time which UV shell went where but I think it's gone okay. Although I did miss one part out as can be seen on the side view.

Next time I'll probably take more care in where I place each UV shell or take the time to write which one's which before painting.
Column with cage
Albedo Map

Friday, 18 March 2016

3D Modelling: Time Machine Design


Part of the reason why I wanted to create something like this is because I thought I needed to make something a bit more complicated than what I did with the column, in hope that I may be able to showcase more.. ability I guess, even though I'm still having a bit of trouble with the low poly model of the column. So I hope I figure it out and am able to do this to the time schedule. Another reason as to why I would like to make a glove type thing, instead of a watch-like object is I thought I may as well use this time to try drawing hands!


At the first creation of the design, each finger had a sharp end to it, however I restricted it to just the index finger. My idea is that once the time/date is set then the user draws into thin air, 'ripping' open a seam which they can them step through. I may reduce these to just the sharp one for the index finger. These initial designs don't show it very well but they, or it, will be linked inside the glove, and as the glove is quite old, it would be tattered, therefore the wires or connection inside it would be seen. I'd like to spend a lot more time on 2D, well as much as I can but that is far too much time and I need to move onto creating the model in Maya.
I have not quite yet decided what the cuff's material will be but I am leaning more towards metal rather than leather. Why I decided on leather initially was so that the metal dial would stand out more on the cuff. Perhaps instead of the chain link type things on the wrist side of the bracelet, I will use metal to connect it (this is where the bracelet snaps on after putting on the glove part), and if I were to do that then the leather would make a much more ideal material.


I guess modelling this on Maya would be easier to do it over a hand but I think if I got the measurements and proportions right, it wouldn't really matter... I just hope that I can.

Sunday, 28 February 2016

3D Modelling: Column Design and Model


These are some of the references I used to create ideas for my column.

I wanted to do something simple so I could focus on the technical side of things and get the hang of the process before doing things more completed which I know would only stress me out...
Primitive Preview

After creating different iterations, I set on modelling the column in Maya.

I don't know if it's the simple design I chose or the fact that I may not be no longer such a beginner with Maya but things like adding edge loops and snapping shapes to others seemed much more easier than the other times I used Maya.

Although this design isn't a difficult one, making this piece has given me more confidence to create something more elegant with more features in the future. I know understand more about how to do things and the features and keys/shortcuts  in Maya and what they do and how to use them.

I'm still not very confident though, but I think I'm getting there. I just need more practice.. and more time!

Front View
Side View
Smooth Preview

Sunday, 17 January 2016

3D Modelling: Barrel Texturing

Primitive Preview
Side View


Top View


This barrel is very lack-luster.
I tried to go for a futuristic, clean looking barrel, but there wasn't much shading and therefore hasn't turned out well at all.
I plan to go back and visit this to put a lot more detail into this piece.
The sides and top of the barrel I think are okay, as well as the bands around the outside of it. However, overall, the shading could be improved as well as the actual colours.

For me, this piece was mostly to get used to painting and comparing the details in Photoshop to the texture on the 3D model and applying it.
I didn't focus too much on the actual painting side of things, which I will do in future models.


I feel like I've been a bit strapped for time since I started this unit and I'm really not sure why. There seems to be a lot going on but also not a lot, which is strange, but I am determined to go back and practice a lot of what we've learned.
Friday, 13 November 2015

Concept: Character Final Painting


The background of this painting did not turn out as well as the background of the timepiece final painting. I wanted to try something different and have the path trail off into the distance, however I did not do this well. I wanted to show the light coming from behind the figure and that she is walking into the woods which would be obscured by darkness.
I did paint in trees between the larger ones in an attempt to show an understanding of Aerial Perspective, however they did not come out in the JPEG image.

Concept: Character Character Sheet

This is a Character Sheet for my version of the Witch from the Tinderbox depicting her in various parts of the story. It shows how she interacts with the soldier, holding herself up higher than usual as shown in her standard pose whilst sitting. This is because she still has her pride and wants to maintain the class she once had. The third figure shows her at the end of the story.

Concept: Character Model Sheet

This is the Model Sheet for my character.

Concept: Character Base Colour Iterations


These basic colour concepts were so that I could get a rough idea of what base colour I wanted before adding the shading to make the clothing look degraded or worn. This is in addition to me having changed the dress and hair to a more ragged design already.

Concept: Character Hair Iterations


I tried to create designs with elegance, which suggests an upper-class nature to the woman. After I decided on the style I would then go on to make the hair look more rough and displaced to give the idea that she no longer holds the position she used to.
I chose the dark red hair as it was more interesting than the black and brown, and I wanted it to be slightly unusual to what colour the hair typically was in that time to subtly show that she was a witch or at least different.

Concept: Character Simple Clothing Designs


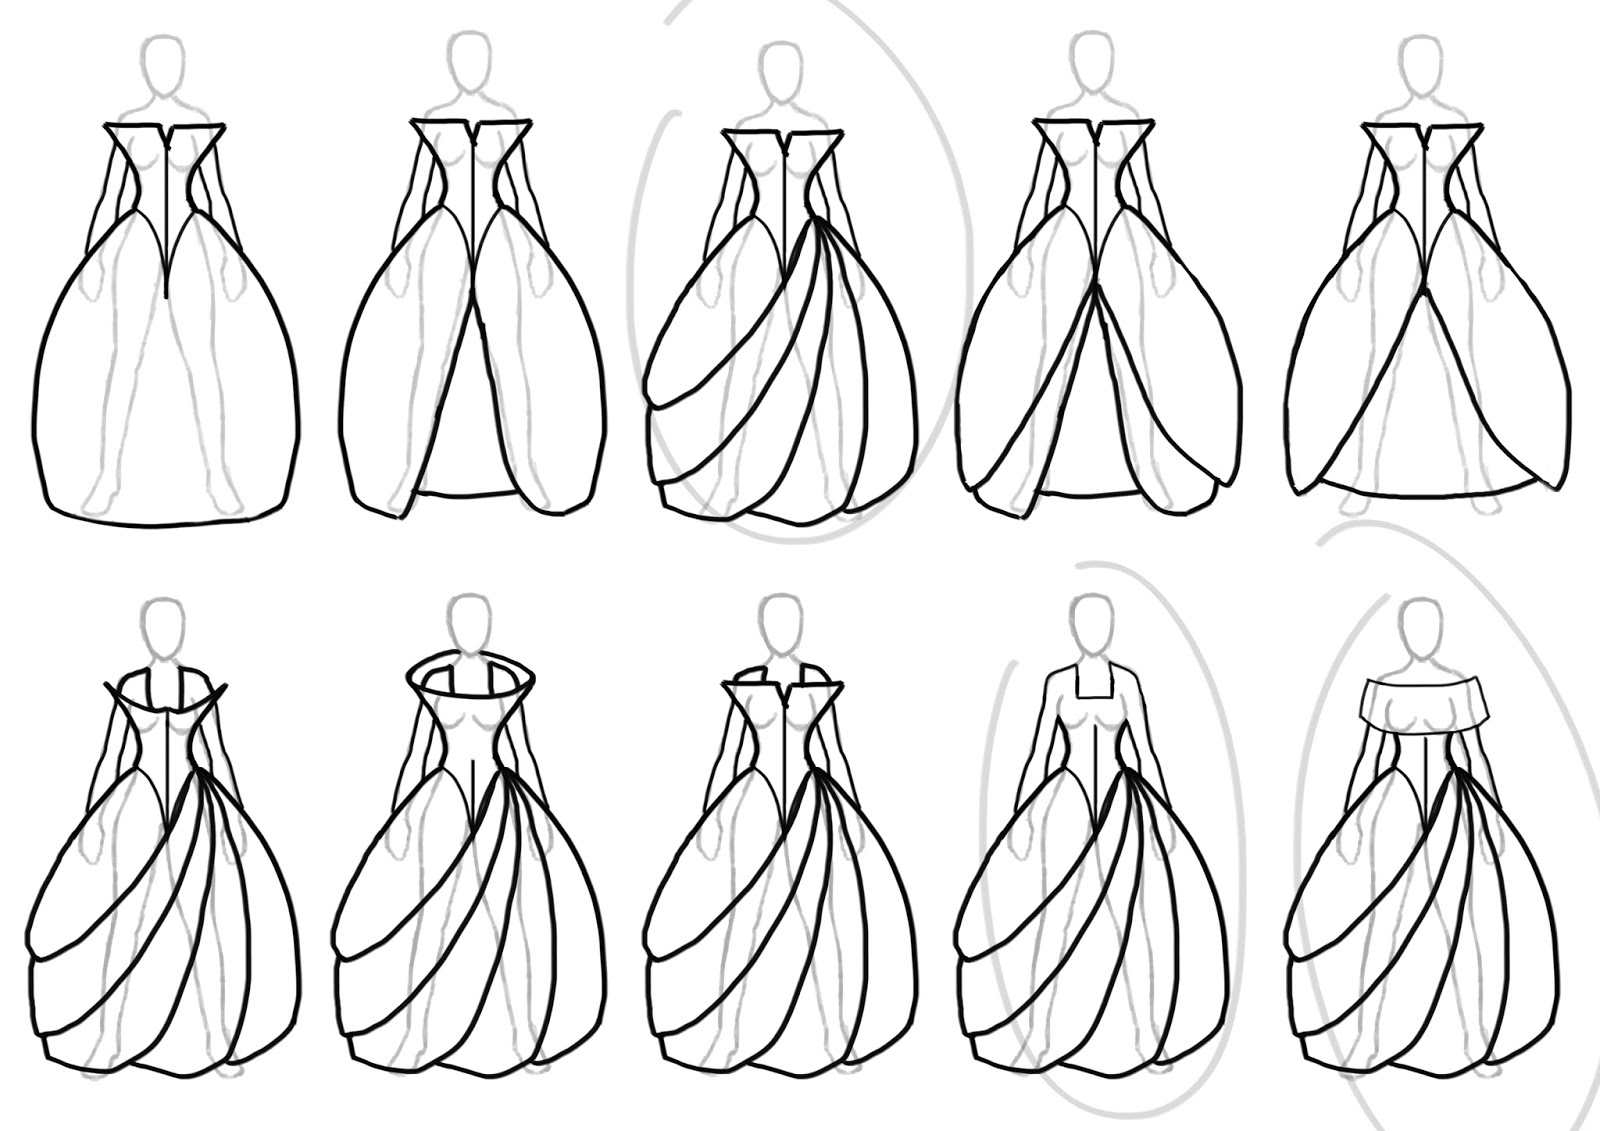
Having settled on the idea of a youthful-looking-yet-aged witch, I then proceeded in creating clothing silhouettes. All of these are dresses as those were popular in this time for women, I just needed to decide on what style I wanted to use.
I kept narrowing down the designs to the choices I preferred and even created iterations of the shoes underneath the dress.

The design of the bottom of the dress I chose was not a typical dress in the 1800s, however I thought it would work well.


Vam.ac.uk, (2015). History of Fashion 1840 - 1900 - Victoria and Albert Museum. [online] Available at: http://www.vam.ac.uk/content/articles/h/history-of-fashion-1840-1900/ [Accessed 13 Nov. 2015].
Vintagefashionguild.org, (2011). Vintage Fashion Guild : 1800s. [online] Available at: http://vintagefashionguild.org/1800s/ [Accessed 13 Nov. 2015].
Women in the American Society: Over the Years, (2015). Fashion in the 1800's: Modesty. [online] Available at: http://womenintheamericansocietyoverthe.weebly.com/fashion-in-the-1800s-modesty.html [Accessed 13 Nov. 2015].


citethisforme

Concept: Character Silhouettes


These are silhouettes created with the Witch from The Tinderbox in mind. My time and place was 1800s America and so my first thought was to create a native American female, however as I carried on with this process the idea changed to a figure of an upper-class woman. This is because I thought more about the concept and a background to the character in this stage. I wanted to portray a youthful looking witch who had fallen from grace years before.

In this third project, I think I improved a lot more in creating silhouettes and making figures from the shapes I saw.