Showing posts with label 3D Modelling. Show all posts

Thursday, 21 April 2016

3D Modelling: Time Machine Final Render and Marmoset Turntable


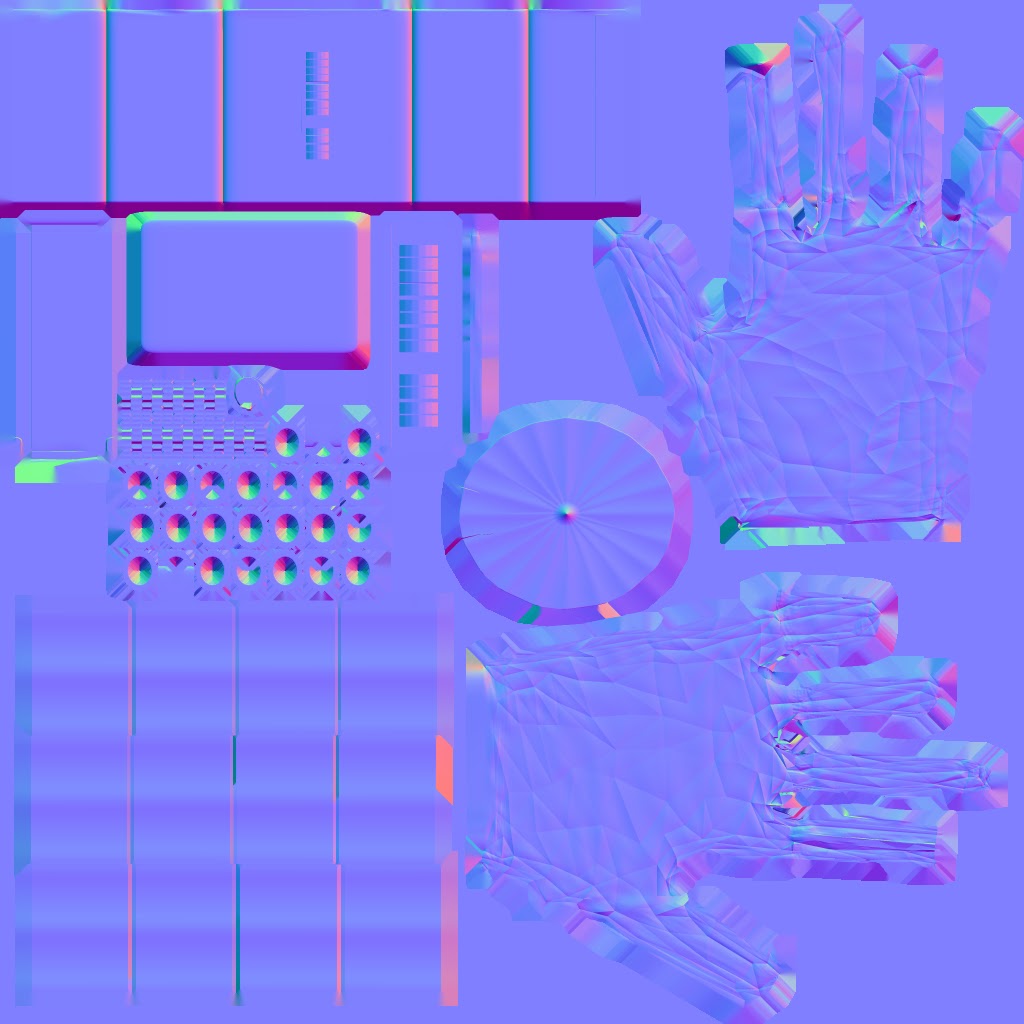
Normal Map
Ambient Occlusion Map

These are the maps I used on my Time Machine Marmoset model.

I wanted the glove part to be fabric and the cuff to be a metal material and designed the maps correspondingly.

Metallic Map
Roughness Map
Both the Metallic and Roughness Maps took me a few tries to do correctly as sometimes things were too reflective etc, but I think that it's turned out alright.

I included a close up screenshot of the cuff as it is not that easily seen on the turntable preview.
Close up of the metal cuff
Time Machine Render

3D Modelling: Column Final Render and Marmoset Turntable

Normal Map

Having baked my pillar in xNormal, these maps were created and saved in my files, a Normal Map and an Ambient Occlusion Map.
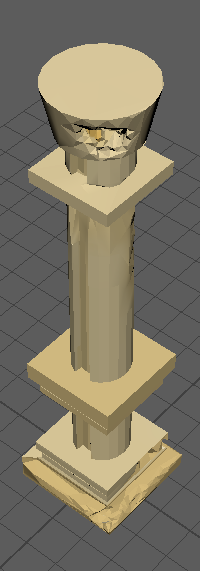
This meant that, using these maps, I could generate the column in Marmoset, making a 3D preview of the model.

In Marmoset, the lighting and different maps can be applied and changed.
For this model, I have only used the Normal and Albedo Maps and also the Ambient Occlusion Map.
Ambient Occlusion Map
Column Render


Wednesday, 20 April 2016

3D Modelling: Time Machine Texture and Cage

Primitive View
Front View


UV Map
Top View
Side View


Before I actually started creating the UV map, I thought that an organic object would be easier to do than objects with hard edges. However, I've found that it's more difficult to determine how many shells are needed for an object and where the seams should be.

It took me much longer to UV map my column than the time machine but I think that may be due to the fact that were more parts to the column, and also because I was just starting to learn UV mapping.


Front View
Primitive View


Side View

Albedo Map
Top View
Time Machine with Cage

Monday, 18 April 2016

3D Modelling: Updated Time Machine

Here we have an updated version of the time machine, as an actual glove instead of just fingerless and a better structure and shape in general. There are still no scratches due to lack of time, however having restarted the piece, I think it's turned out alright given the amount of time I had.
I decided to restart the piece as I just couldn't figure out how to just add fingers on through zbrush so I just rebuilt it on Maya and sort of made it simpler to begin with.

Primitive View
Front View
There were loads of misplaced vertices, messed up faces, extra edges etc and I spent around 3 hours importing and exporting changes in and out of zBrush and Maya! This is because there were holes in my models and overlapping areas when I imported the .OBJ into zBrush., but it's all good now.

Top View
Side View

I adjusted the original model of the template so that it was better and easier to edit in zbrush.

It looks more like a hand instead of a blob and this made it better to sculpt in zbrush.

This took me less time than the previous sculpt did as I knew roughly what I wanted and where things were meant to be.
This meant that things could also be improved upon quicker; the palms were shaped more realistically and the fingers took a better shape, which would have been more of an improvement had the first design had fingers...


Primitive View
Front View
Back View
Right View


Top View
Left View
Side View
Primitive View
Front View
Top View 

Friday, 15 April 2016

3D Modelling: Column Texture

Primitive View
Front View
Side View
Top View

I chose a grey colour at first but it didn't seem much different from the lambert material in Maya, so I tried a sandy, marble-esque colour but I think I'd have to add additional materials to the model in order to create this affect.

Painting on a UV map with irregular designs and shapes was strange as I couldn't tell a lot of the time which UV shell went where but I think it's gone okay. Although I did miss one part out as can be seen on the side view.

Next time I'll probably take more care in where I place each UV shell or take the time to write which one's which before painting.
Column with cage
Albedo Map

Wednesday, 13 April 2016

3D Modelling: Column Low Poly Model

Primitive View
Front View
Side View
Top View

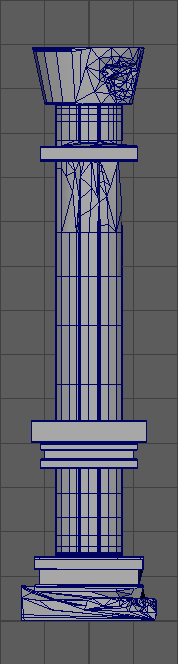
This is the low poly of the column created in Maya by cutting in the decimated version of the high poly to the original Maya model.


Upon reflection of this piece, the smooth preview has been distorted due to missing edge loops when deleting and replacing faces throughout this process.
I started all of the UV Mapping process of each face and section from scratch by selecting each face then either planar or cylindrical mapping. then editing them as I saw fit. I mapped them all out before scaling them and putting them into the top right section of the grid in with the coloured grid for UV mapping.
Primitive View
This was my first time UV mapping properly. It wasn't as bad as I thought it was going to be but it took me roughly 10 hours to complete the UV mapping of the column.

UV Map

Front View
Side View

Front View


Monday, 4 April 2016

3D Modelling: Time Machine High Poly and Low Poly

Perspective View
Front View
Side View
Top View


This is the original model in Maya. It doesn't have a lot or any details really due to the fact I wanted to basicallydestroy the basic model created in Maya to remould it into a glove. I wanted to keep the cuff as close to how it has been modeled in Maya as it would be an object with hard edges.

This model was then imported into zBrush and crafted into my idea.
The fingerless gloves were decided due to the point at the top of the index finger, what would be used to "rip" a portal to a new time. It was also easier to build this way. I tried to mould the glove's as similar to that of a hand's as possible, with the bump and creases in the palms etc. I also tried to make it more obvious where I wanted holes for the gloves as I didn't hollow them completely out.

Primitive View
Back View
Front View
Left View
Right View


Primitive View
Front View
Back View


The high poly zBrush model was then decimated and imported into Maya and a low poly model was created. I encountered some issues with ngons but it should all be fixed now and the model should hopefully unwrap rather smoothly.

Side View
Top View